A Better Travel Photographer and Street Photographer
*With no extra cost to you this post has affiliate links – if you buy something from MPB, I get a free coffee.
Street travel/photography
I’m sat at a cafe in Hong Kong as I mull the question, what is street photography? It’s not something I spend a lot of time thinking about, but I remember when I first started photography seriously and I used to tell myself: I’m going to be a street photographer or I want to be a travel photographer. For me now it’s all about perspective. Let me give you an example or two. A photograph of a rainy beach in Scotland might be considered travel photography, others might call it landscape photography. Imagine this, you’re photographing people shopping at an outdoor market in Thailand. Would that be travel photography or street photography?
Slowly I have left such definition behind me. Sometimes my own personal work resembles documentary photography more than other genres. Because I am obsessed with capturing life changing through a lens. I don’t always think artistically, about light and shadow or layers. On the other hand true documentary images are normally part of a long in-depth photo project. I don’t have the time for this.
So I guess my point is don’t get too stuck genres or definitions about what kind of photographer you are, or worried about which category your work falls into. So this article is more about photography tips for beginners more than anything else.
The beauty of photography
You can practice photography anywhere and for the lack of a better term the same goes for travel/street photography. So if you’re a beginner don’t get hung up on terms just take photos wherever you are. If you travel then good for you just find what interests you and use your camera.
Travel and street photography tips for beginners
Just like you might be, I’m always looking out for ways to improve my own photography and that is an ever evolving process. Here is a simple list of my top 10 travel photography tips. You will not find this a guide about shutter speed, rule of thirds, or apertures or even ISO. This areticle is just about general travel photography tips that can be applied to most situations.
Know your camera
I suggest start with one camera and learn-the-hell-out-of-it. I did this with my Fuji X-T1 (see review). I have included a link to a guide, but at the end of the day you learn best by just using it. In regards to the X-T1 I still think it’s the best camera in terms of ergonomics that Fuji has ever made. I loved that most of the camera settings could be changed physically my using the dials. I later used the X-T30 extensively it’s now my most used camera.
Stick with one lens
I always shot it wide (and still do) around 21mm a lot of the time. When salt water killed my X-T1, I bought the X-T30, and I used the kit lens on my X-T30, for the longest of times. So I would I suggest the following:
- Kit lenses are great, especially on the Fujifilm cameras.
- If you can buy a lens then great, if you can’t learn the the hell out of the one you have
At the end of the day it’s not about the gear. It’s you. I used the hell out of the Fuji kit lens XF18-55mm. Almost extensively for all my earliest photos, probably for around 2 years. I later changed to the Fujifilm XF16mm f/2.8 R WR, for the compact size which complimented the smaller bodies nicely. I prefer prime lenses because they force me to move and think a little more. I’d later change to the Ricoh GRIII a few for the similar reasons and used the hell out of those cameras too.
My suggestions. Shoot with autofocus on learn the limitations of that, modern cameras have great autofocus. If you get bored or get confident with that, try zone focusing (which is manual focus), Try it in low light, try it bright light. Practice on your kids, or pets, practice on everything that moves or doesn’t. This will gradually improve your eye at composing the scene, and learning the limitations of your camera.
Find the camera you love
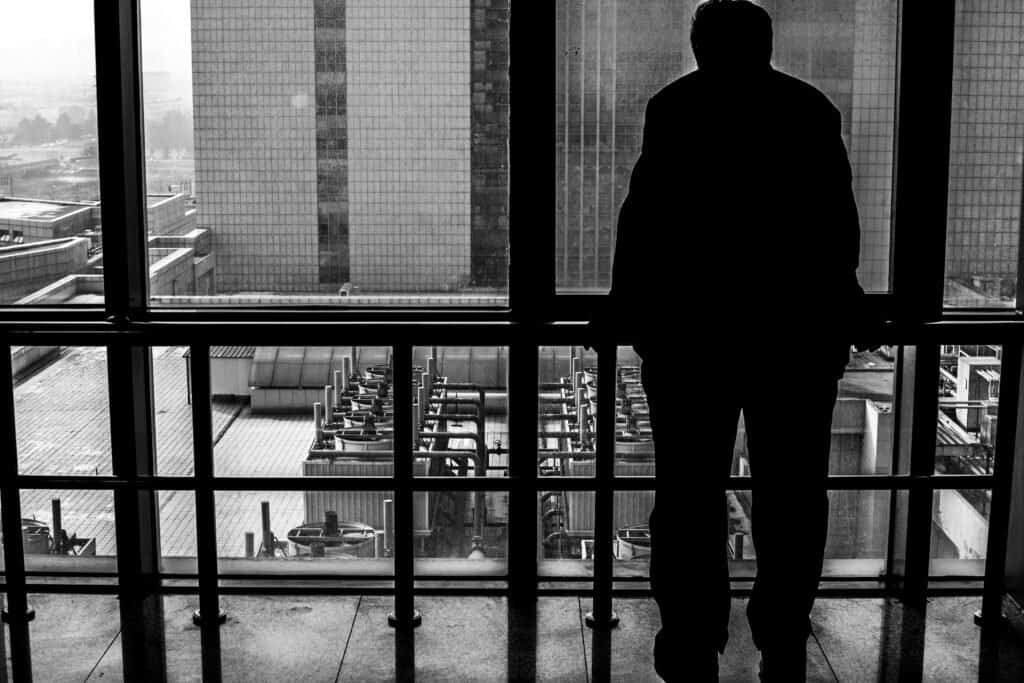
My last bit of advice, get that camera that feels great in your hand. Choose a camera that makes you wat to use it. Take your camera everywhere, smaller bodies are better for this. In the past I took my Ricoh GR3 everywhere. I think it’s the best camera, I took one the below picture at a hospital, was it the right thing to do? Yes, I believe. Some might not agree. I have ever had in this aspect. It’s the least intimidating camera I have used and a true one handed operable camera I have owned. I took some of my favourite opportune images with that little beast. Honestly if they hadn’t kept breaking I wouldn’t have used any other camera for daytime time photography.
10 Tips For Beginner photographers – Travel Photography
1.Get Lost
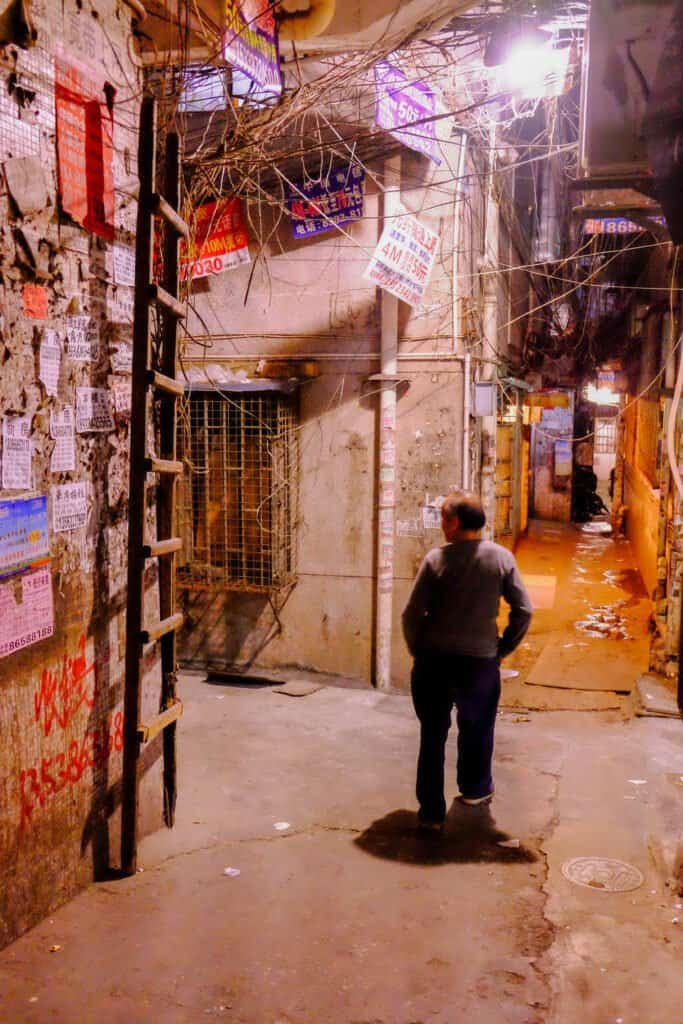
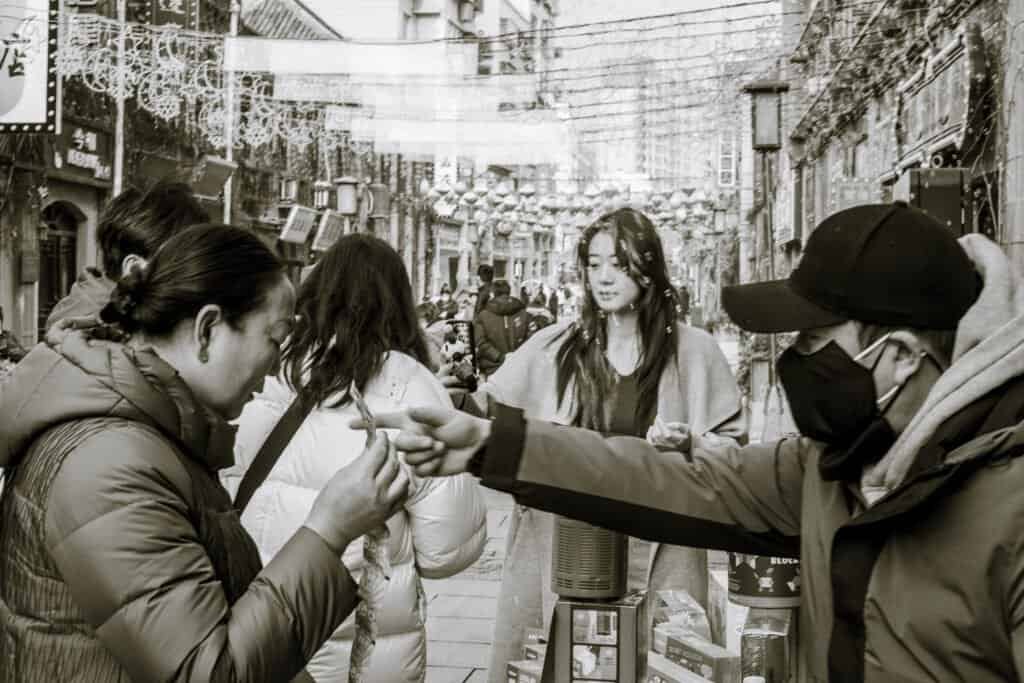
I’m not being rude. Wander without purpose, there is so much creative freedom in this. If you’re on a tight schedule however this might not work for you. Personally I like to choose a general location and do this. I did this when I was in Hangzhou, China at West Lake and it worked so well I went back there again the next day.
I find getting lost with my camera actually very relaxing. Keep your mind open to new people possibilities and to discovering new travel photography and street photography.
2. Plan ahead
This sounds the opposite of what I just said, but it’s not really. At certain times locations can be packed with tourists or local people. This might be what your looking for, however it’s not quite my thing.
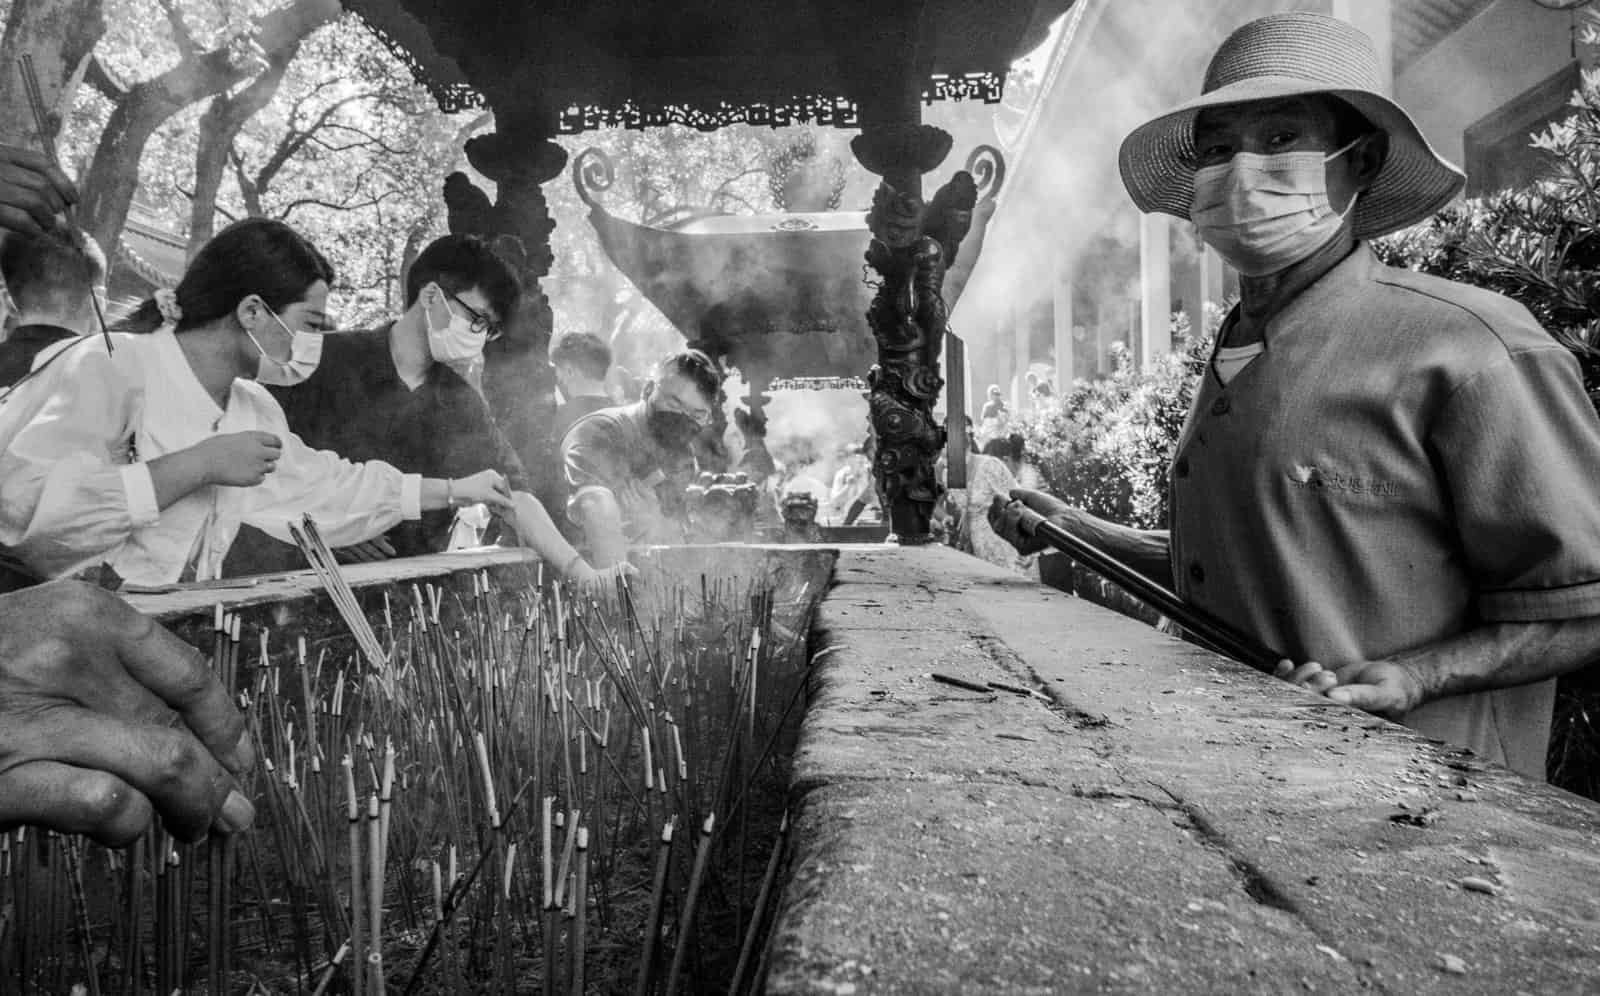
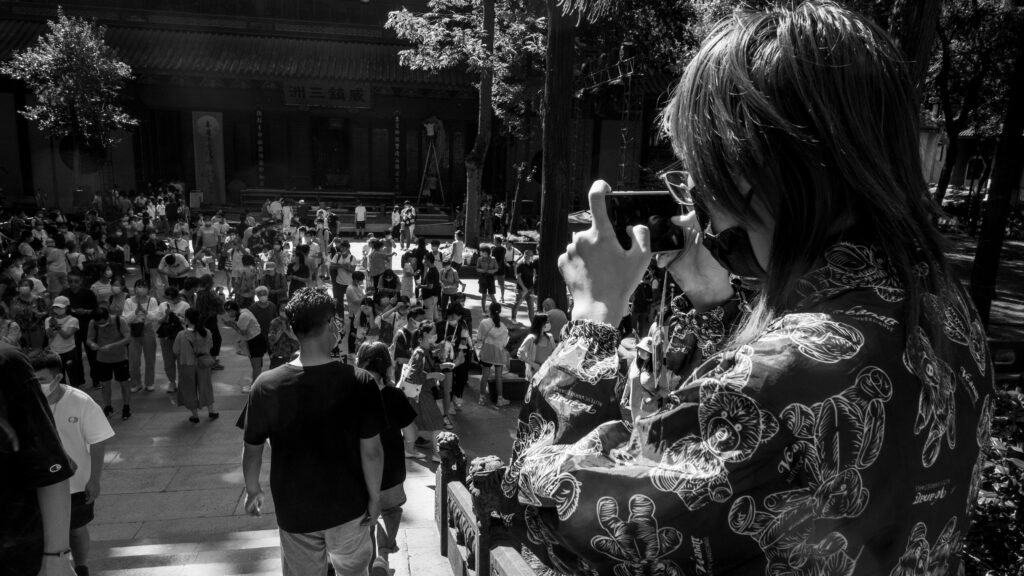
Peak season can for festivals and national days can also mean expensive tickets and hotels, which isn’t great. For example I went to a temple in Hangzhou (杭州. I arrived at this temple and I couldn’t see the forest for the trees. Wherever my lens wandered I had people stepping into my frame. For example the guy below just willy nilly just wandered right in front of me. This happened so many times that day.
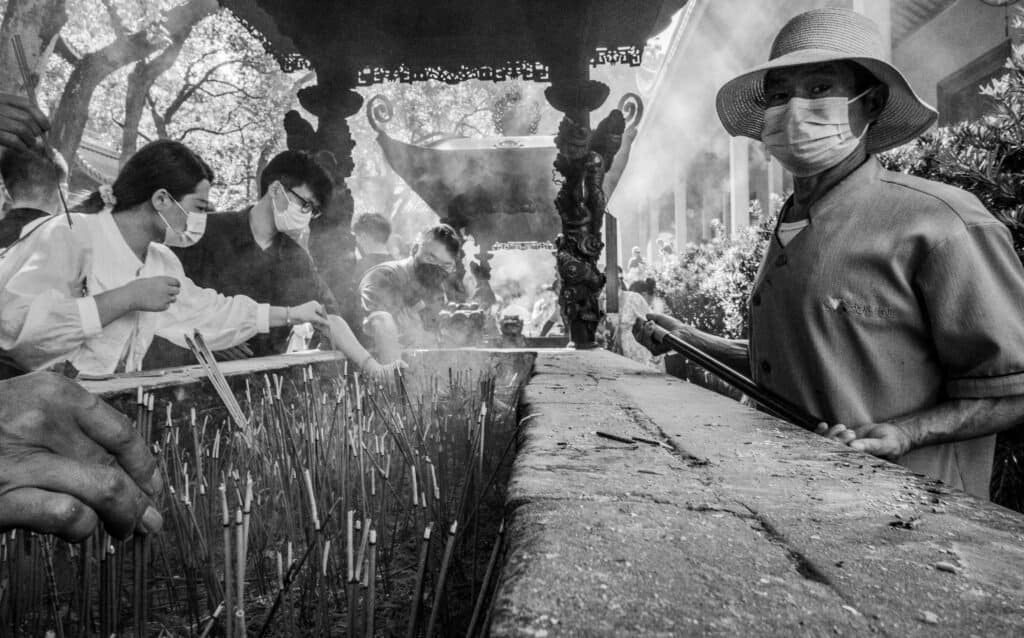
However even in these moments you have to adapt and work with what I had. Below is one of the few pics I managed to get that worked out okay.
With a bit better prep I might have chosen to go there much earlier.
3.Feel your surroundings
Is always nice if time allows to just setting down. Observe local behaviours and get a feel for the rhythm of life. If you are rushed, stressed or nervous you may not get your best images.
4.Prepare your gear
Your SD cards, your batteries. The same goes when you leave your location. It horrible feeling when you arrive and your batteries are dead, or when you check out of your hotel and leave a charger or worse and sd card behind.
5.Talk to people
Most people are good, or even great to strangers most of the time. Smile, learn a few words of their language if appropriate. You will probably learn something, or if lucky gain access to a situation might have otherwise missed. Be friendly and nice and you might even get a few portraits.
Ask permission for a photo if it feels like the right thing to do and be aware of any cultural do’s and do nots. That said most of the time I go for candid photographs.
6.Protect your time
If you’re travelling with a friend or family member, let them know that you are busy with your photography at certain times. Times like sun up or sun down. You might have to compromise sometimes, for example if I’m travelling with somebody I keep the camera in my room when the light is not at it’s best. Besides it’s not easy to get into the zone when you have kids bouncing, and your significant over chirping over your shoulder.
7.Stay close
Try to book a hotel or accommodation near to where you want to go. It can be tricky to balance your budget doing this, but its worth doing if you can. Safety is also a factor both for yourself and your gear.
For example if you are visiting Shanghai, and you want to get some old colonial style architecture, then you might consider staying in or near the Bund. If you have to travel to the location you might lose a lot of your enthusiasm.
8.Get up early, or stay up late
As much as I enjoy, shooting in all light conditions times like the midday might not always be the best. For example in hot countries there are often very few people around and not many interesting shadows.
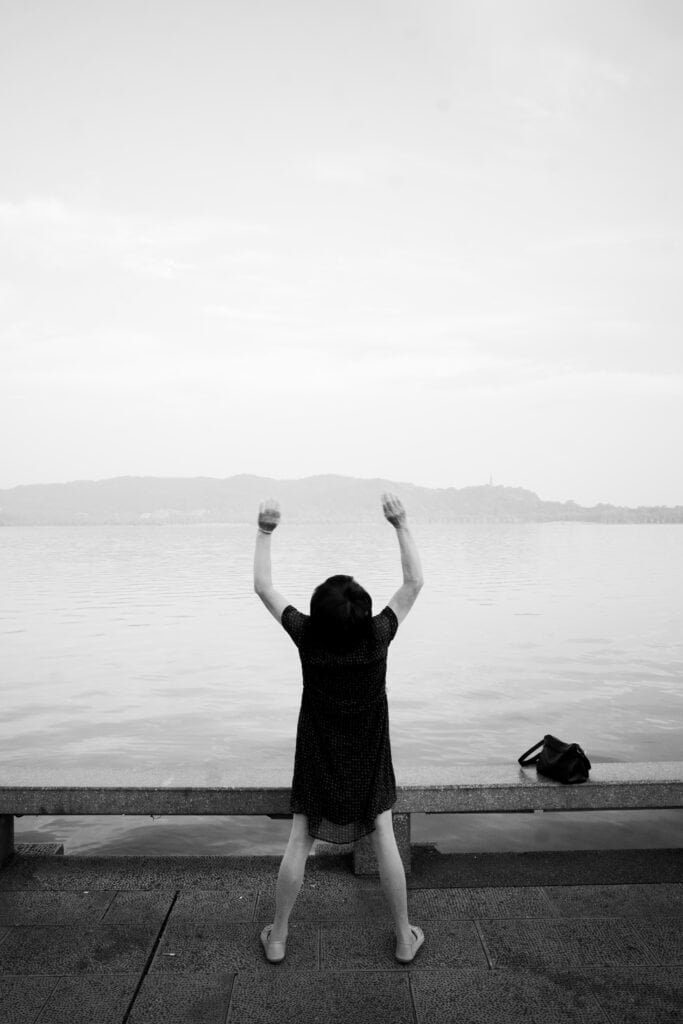
The morning light is very rewarding, there is something wonderful about a city or town waking up. People in China for example gather around lakes and parks for their early morning strolls or exercise. For example West Lake in Huangzhou, is super interesting at this time. There’s often a mist over the lake, the light is soft and there are fewer people around doing more interesting things.
The reasons for shooting around sunset is obvious. Long shadows, gorgeous light. I also particularly love night photography. At these times I search for pools of light. Just make sure you have the right lens, or camera as it can be challenging for smaller sensor cameras.
9.Storage for images
I use Adobe Light Room app and back up my images, but even that can be a bit limited. 100 gigs of storage can fill up pretty fast. I also take extra SD cards, and readers as well as one hard drive with me. If you have camera that has internal storage like the Ricoh GRIII does then that helps a lot. I believe some Leicas do as well. I like cameras with dual card slots, but that’s a function that’s hard to find in smaller cameras.
Lastly, and this is obvious but keep your SD cards and storage safe. Take and extra camera too, if you have one.
10.Be safe, have fun
I believe most people are kind if not generous most of the time. Some countries are safer than others. Be aware of local laws, and general safety before you go. Each country comes with its own challenges. Use a local friend or guide if you have to.
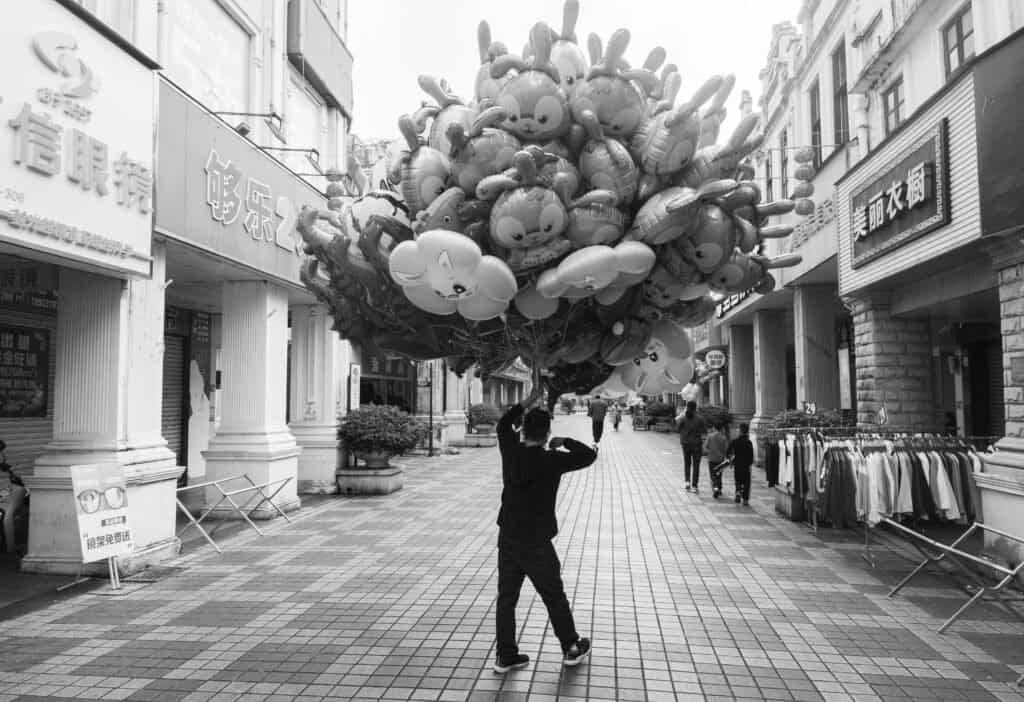
Trust your gut. If a location or people around don’t feel right just move on. Avoid taking photos of government buildings, local officials and even dodgy people. Remember you’re not doing anything wrong. On the other hand, there is always another photo around the corner, so there is not point in taking too many risks.
Final thoughts
I’m just a human like you and I am always learning and making many mistakes just as you do. I hope you have enjoyed my photo tips and find them useful. Take what you like from this article and have. After all isn’t that what life is all about. Now go and get that great photograph.
If you’re interested in hearing more from me, you can follow my podcast. Also how are you going to challenge yourself in 2025, check out my post on how I’m going to approach this new year. If you wondering what gear I have used up until now, and my hearing my experiences please check out of my Ricoh GRIII review and my Fujifilm X-T30 reviews.
